If you’re learning a digital mixer, the Midas M32 Live can feel intimidating at first—especially with 32 channels and lots of menus. But the good news is that once you understand how one channel works, the rest becomes repeatable.
This guide is based on the tutorial and review from Decibel Audio Kenya (video: “5 November 2024”). You’ll learn the core concepts you need to operate the mixer confidently: channel processing, buses, effects, routing, mute groups, and presets.
Watch the video here: https://www.youtube.com/watch?v=1eEj3imMVKM
Nairobi Branch (TikTok): https://www.tiktok.com/@decibelaudiokenya
Mombasa Branch (TikTok): https://www.tiktok.com/@decibel.audio.mom
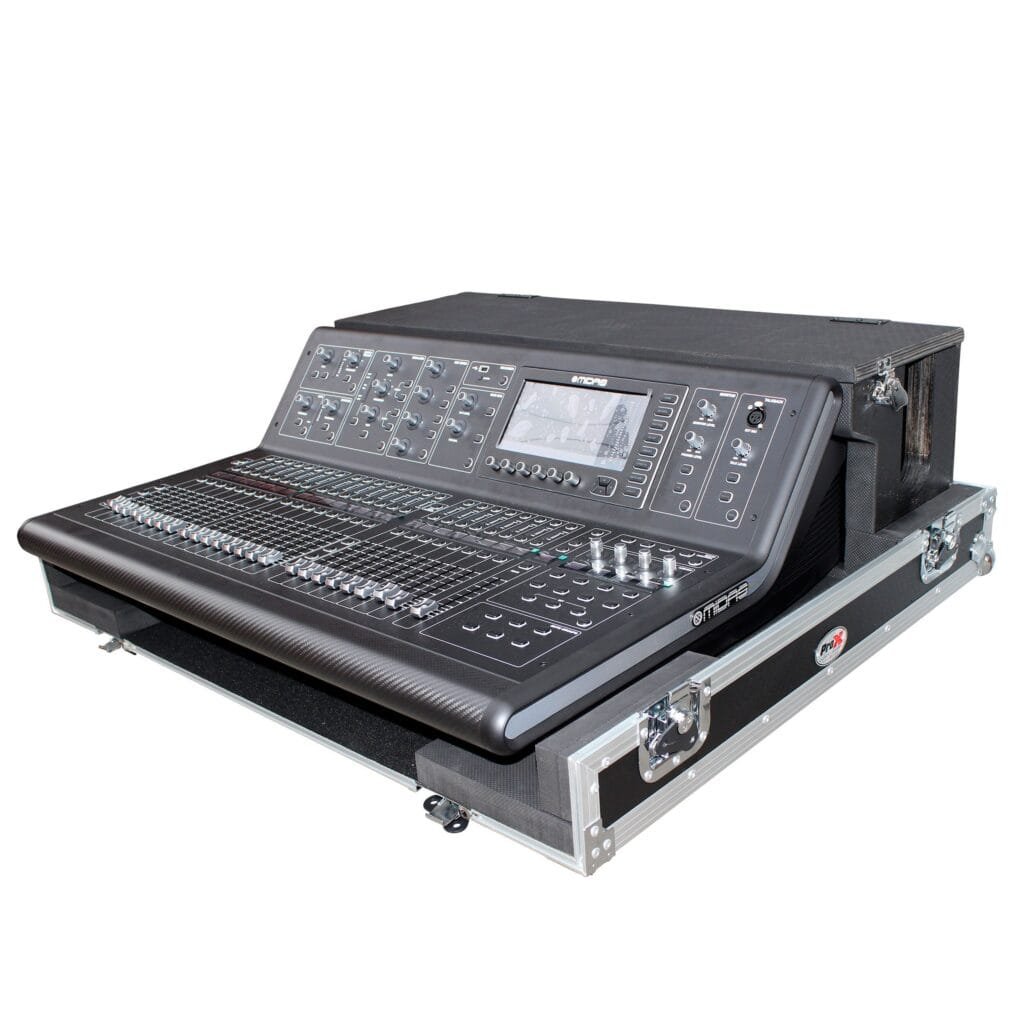
A digital mixer consolidates many analog processing tasks into one compact console. Instead of separate devices for:
the digital mixer performs these functions inside the console.
That’s why it can look “advanced.” But the logic is the same as analog mixing: you control input levels, shape tone, manage dynamics, and route audio to outputs.
The Midas M32 Live is powerful because it gives you deep control. However, the Midas M32 live tutorial emphasizes a key learning strategy:
Think of the M32 Live as a system with repeating blocks:
Once you understand these blocks, the mixer becomes manageable.
On the M32 Live, you can control phantom power directly per channel. This is essential for:
Beginner rule: only enable phantom power when your microphone needs it.
The preamp is the input gain stage that boosts your mic signal to a usable level for processing.
The gate cuts unnecessary noise based on a threshold.
When you use a gate correctly, you reduce:
Beginner tip: start with gentle gating. Over-gating can cut off the start/end of vocals.
A compressor helps keep volume consistent by controlling peaks.
The tutorial highlights compressor controls such as:
What it does in real life:
Beginner tip: use compression lightly first. You can always add more later.
The M32 Live provides a 4-band parametric EQ with adjustable:
This lets you shape tone precisely:
Beginner EQ approach:
The mixer features 16 output buses. Buses are how you send channel audio to different destinations, such as:
The tutorial notes that channels 13–16 are typically dedicated to effects handling (depending on your setup).
Effects can be managed via a fader-flip feature, which helps you quickly switch between:
This is a big time-saver during live events.
The tutorial mentions effects such as:
Beginner tip: keep effects subtle for speech-heavy events (churches, announcements). Too much reverb/delay reduces clarity.
The routing menu allows customization of:
This is where you configure the mixer to match your real hardware:
Mute groups let you bundle multiple channels (for example, all drum mics) and mute/unmute them with one button press.
This is extremely useful when:
The utility button helps manage:
Scenes let you store complete mixer setups for different performers or events. Presets help you recall your preferred processing quickly.
Beginner benefit: you reduce mistakes and speed up setup time.
Use this simple learning routine:
The Midas M32 Live is a powerful digital mixer, but it becomes easy when you learn the repeatable channel workflow and understand routing, buses, effects, and scenes.
If you want the exact step-by-step demonstration, watch the full tutorial here:
https://www.youtube.com/watch?v=1eEj3imMVKM

© 2026 Decibel Audio Kenya. Designed by Tannbit