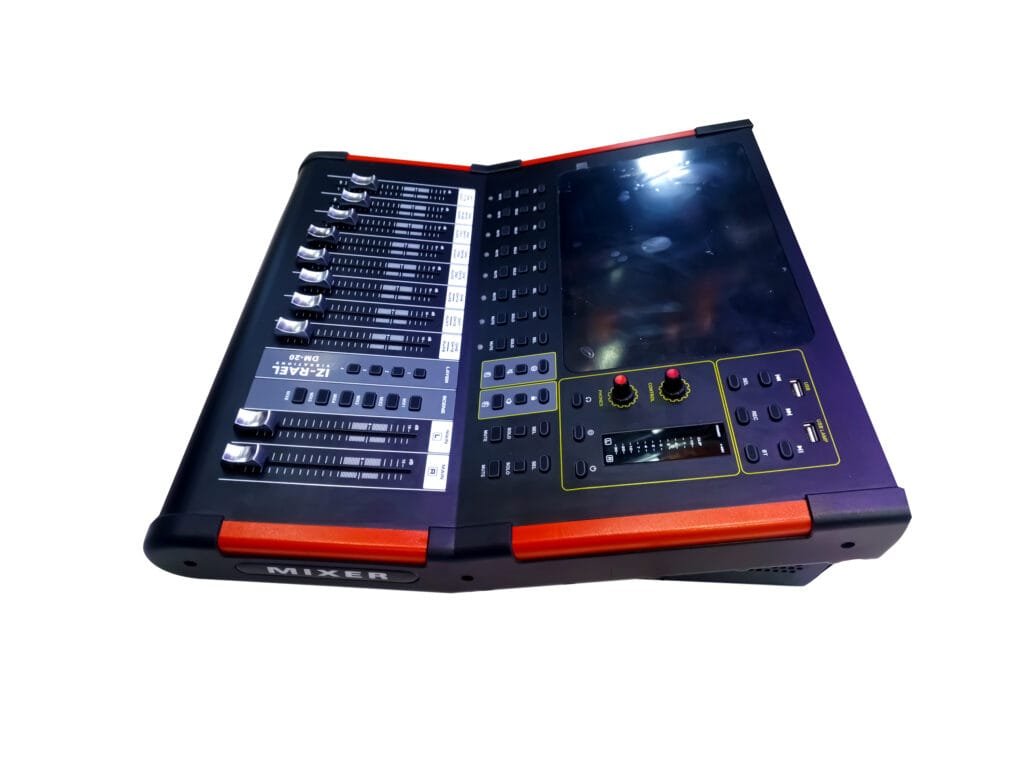
If you’re learning digital mixing for live sound or studio work, the IZRAEL VIBRATIONS DM 20 is a great starting point because it combines multiple workflows in one unit: channel processing, aux/bus routing, effects, scenes, network control, and multi-track recording.
In this guide, you’ll follow the same learning path as the video tutorial—turning what you watch into a practical checklist you can use the next time you power on your mixer.
This is where you make each channel sound clean and controlled.
3.1 Parametric EQ basics
Parametric EQ lets you adjust:
frequency (what part of the sound),
gain (how much you boost/cut),
Q (how wide or narrow the band is).
Beginner workflow:
Start with a flat response (don’t over-boost).
Listen for problems:
muddy = reduce low-mid,
dull = add high-mid,
harsh/sibilant = reduce high frequency area.
Make small EQ moves (then re-check).
3.2 High-pass and low-pass filtering
High-pass and low-pass filters help remove frequencies you don’t want.
High-pass (HPF): cuts rumble/low noise (often great for vocals and line inputs).
Low-pass (LPF): removes unwanted top noise (sometimes used on instruments or noisy channels).
Tip: HPF is one of the easiest “instant clarity” tools for beginners.
3.3 Compression: smoother vocals/instruments
Compression reduces dynamic peaks so the signal stays consistent. This helps when:
a vocalist moves closer/farther,
instrument levels vary during the song,
you want a stable overall mix.
Beginner starting point:
set moderate ratio,
adjust threshold so gain reduction happens only during louder moments,
then level the output to match the original loudness.
3.4 Gate: reduce noise and unwanted bleed
A gate reduces background noise by muting signal below a threshold. It’s useful for:
drum mics leaking into unwanted channels,
noisy inputs between phrases,
live environments with echo and noise.
Important: Set the gate carefully. Too aggressive can “chop” vocals and instruments.
4. Aux & Bus Management (for monitors and routing)
4.1 What aux sends really do
Aux sends create separate mixes for specific destinations:
stage monitors,
recording,
effects returns,
subwoofer routing (depending on your system design).
Instead of using your main mix for everyone, aux sends let performers hear what they need.
4.2 Using aux sends for crossovers and destination mixing
When your system uses crossover routing (for example, feeding tops and subs differently), aux/bus management helps you:
direct the right content to the right destinations,
keep the main mix clean,
reduce feedback and muddiness.
If you’re new, focus on routing first, then refine levels.
5. Effects & Scenes (speed up your live setup)
5.1 Setting up effects
Common effects include:
reverb for vocals,
delay for lead singers,
chorus/verb for instruments (depends on your event style).
Start with small amounts. Too much reverb can hide vocals—especially in echo-heavy rooms.
5.2 Creating and recalling scenes
A scene is a saved snapshot of your mixer settings (channels, EQ, effects, aux levels, etc.).
Why scenes matter:
you can recall a full setup instantly,
you can switch between songs/bands without rebuilding from scratch,
you reduce human error during live events.
Beginner tip: create at least 2–3 scenes:
“Event setup,”
“Vocals heavy,”
“Instrument-heavy” (or “Night service” vs “Day service”).
6. Grouping & Network Control (Wi‑Fi control with laptop)
6.1 Channel grouping for fast mixing
Grouping lets you control multiple channels together (for example, all backup vocals).
This is useful because it reduces workload:
one fader for group vocals,
one EQ tweak for similar channels,
faster adjustments during the performance.
6.2 Controlling the mixer via Wi‑Fi on a laptop
The tutorial highlights Wi‑Fi control, letting you operate the DM 20 from your laptop.
Beginner best practice:
set a stable Wi‑Fi connection,
keep the laptop on the same network,
avoid disconnecting mid-gig.
7. Multi-track Recording with DM 20 (16-channel workflow)
If you record live performances, podcasts, or worship sessions, multi-track recording is a huge advantage.
7.1 Preparing your DAW (Cubase)
The tutorial references using Cubase. Your key steps are:
configure input channels,
set up the recording tracks,
verify clock/sample rate settings (based on your setup).
7.2 Recording 16 channels
The DM 20 tutorial focuses on 16-channel recording, which is excellent when you want:
separate vocals,
separate instruments,
separate drum elements,
and post-production control later.
7.3 Playback and basic session organization
After recording:
label tracks (if your DAW supports it),
save versions of your session,
then mix/export your final audio.
Even basic track organization saves time and stress later.
8. Quick Beginner Checklist (Do this before every gig)
Use this before you start the show:
Set up channel basics: gain and clean input.
Apply gentle HPF/LPF where needed.
Add compression only where it improves consistency.
Use gate carefully (avoid chopping).
Configure aux sends for monitors.
Set up effects lightly.
Save scenes for quick recall.
Test Wi‑Fi control if you plan to use it.
If recording: verify 16-channel input mapping in Cubase.
9. Next Step
Once you’re comfortable with channel editing, aux routing, scenes, and recording, you’ll be mixing faster and more confidently—because you’ll understand what each control is doing.
Again, follow along with the video tutorial for the exact menu navigation and examples: Decibel Audio Kenya Youtube